Grow Herbs Indoors
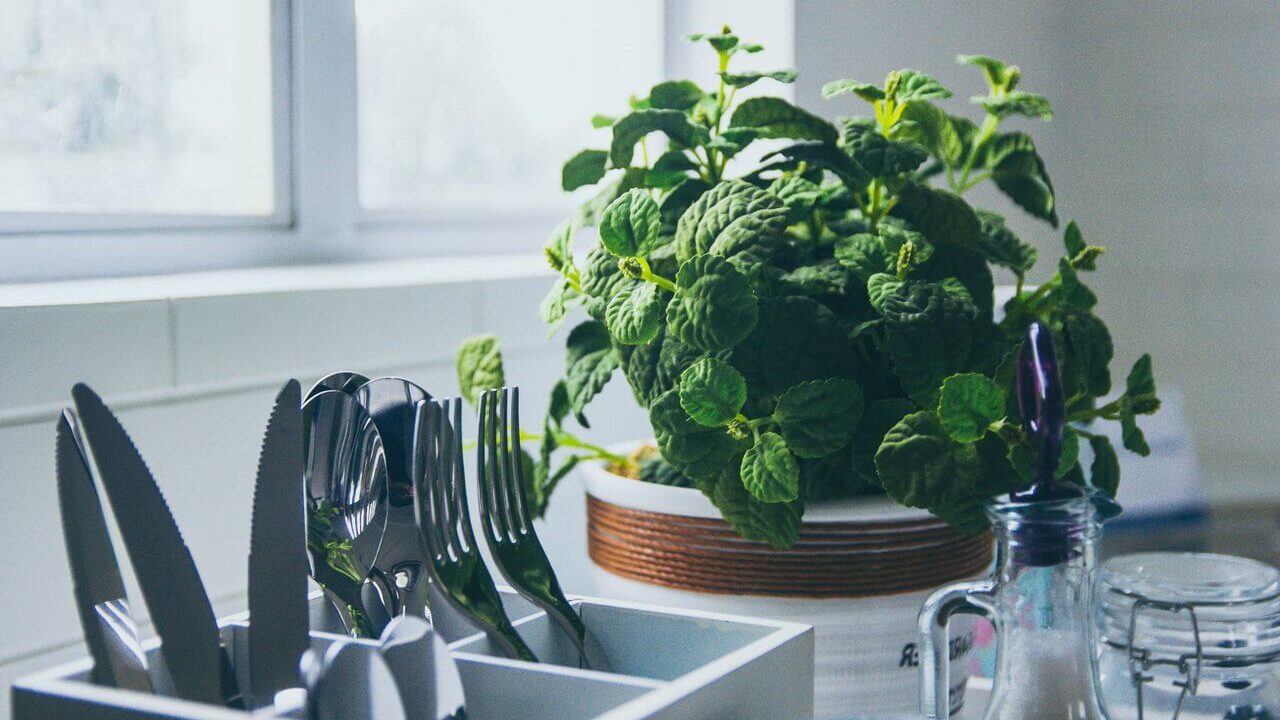
Cold winter weather isn’t the end of my growing season. Instead, it offers me the opportunity to downsize my garden, take a break from many outdoor chores, and grow herbs indoors.
Having those fresh green herbs close at hand throughout the darkest and longest days of winter brings a smile to my face and instantly lightens my mood. Honestly, all plants make me happy in winter but I especially love having herbs nearby.
In addition to the flavor boost in cooking, their various aromas are enchanting and better than essential oils at adding natural fragrance to a room.
As a bonus, herbs are more forgiving of less than stellar indoor growing conditions compared to most vegetables. With the right preparation indoor container gardening is possible and easy.
Indoor Growing Systems
This post contains some affiliate links. Please click here to read my full disclosure policy.
When it comes to growing herbs indoors, there are three systems to choose from, each with its own set of benefits.
Traditional Potted Herbs: This is the most common way to grow herbs indoors, and the main method I use. Plants grow in traditional pots and containers. It’s straightforward and allows for easy control over the soil and water conditions.
Hydroponic Systems: Hydroponics is a soil-less method of growing plants in a water-based, nutrient-rich solution and offers several advantages for indoor herb gardening.
It promotes faster growth and higher yields, as the plants have direct access to nutrients and oxygen.
Research has shown that hydroponically grown herbs can have higher nutritional content and flavor intensity compared to their soil-grown counterparts.
Easy to use commercially produced hydroponic systems like these make indoor herb growing easy and affordable.
Vertical Gardens and Wall Planters: If you have limited space, a vertical garden or wall planter might be good solutions. They utilize vertical space efficiently and add decorative elements to your home.
Vertical gardens can also improve air quality, making them a functional and aesthetic choice for growing herbs indoors.
Selecting the Right Herbs for Indoor Cultivation
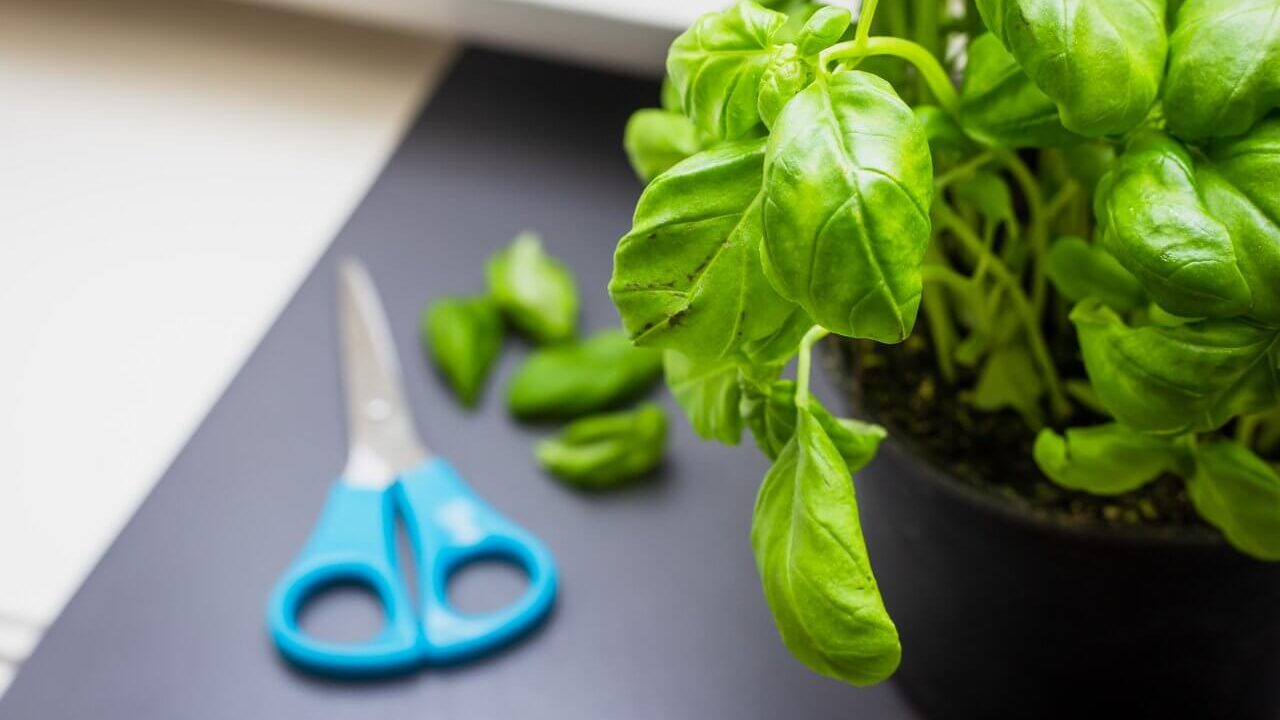
I love to grow herbs indoors and have found them much easier to grow than most vegetables. Herbs adapt better to indoor lighting and once watered, can be left alone to grow.
My favorite herb is basil. It’s finicky to grow inside and does best when an established plant is brought inside instead of starting from seed. It likes sunshine and may require a supplemental source if a south-facing window doesn’t provide enough light.
Since I start with an established plant, leaves are ready to harvest immediately. The best basil to grow indoors are compact varieties such as Dolce Fresca and Everleaf Genovese.
Chives are an excellent indoor herb but are poisonous to dogs and many other pets. They prefer cool conditions, and good light, and do well in south-facing windows. I start them from seed, but small bulbs can also be planted.
Chinese chives and garlic chives are popular varieties that have similar growth habits and a mild garlic flavor.
I love the look of a well-maintained and manicured pot of chives. Grouped closely together the stems stand upright and add a unique look to a room. If they are not often trimmed for use they fall over and look scraggly.
As with all herbs, you can plant additional seeds at any time. Succession planting is a great way to ensure you continually have fresh herbs available.
Parsley may be started from seed, or a young, healthy plant transplanted from the garden and brought inside. One parsley plant needs its own 6-inch pot to grow.
To speed germination, soak seeds in water for 24 hours prior to sowing. Standard parsley will grow 6-8 inches in height and develop green, curly leaves. Italian parsley, which is commonly used in cooking, has a slightly stronger flavor and is ready for clipping at 10-12 weeks after seeds are planted.
Cilantro is close behind basil as my favorite herb. Perhaps that’s because it’s the most versatile of all culinary herbs and can add flavor to almost any food from soups to salads, salsa, meat, and even to fish.
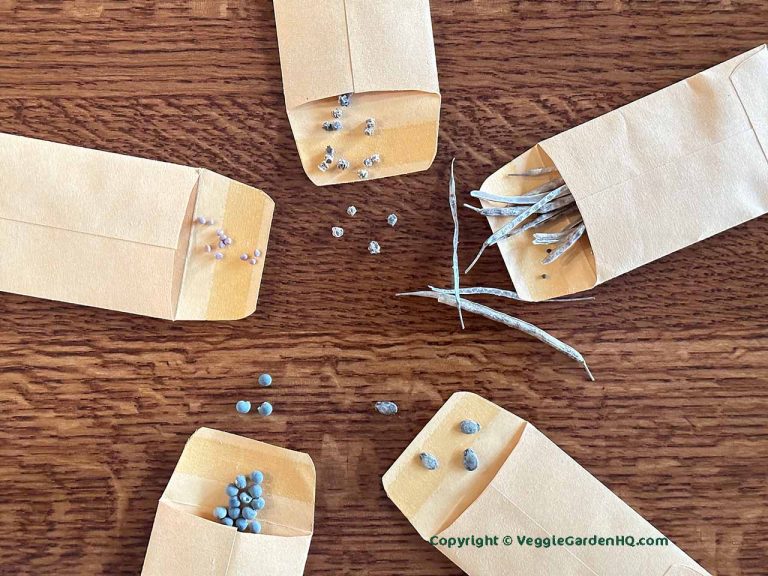
The ‘seed’ that comes straight from a cilantro plant is actually a husk with two seeds inside. Gently split the husk and find the seeds inside. Gentle is key here so the embryos inside are not damaged.
Once split you don’t need to separate the husk from the seed, but you should soak them in water for 24-48 hours prior to planting to speed germination. (Don’t bother to separate the seeds from the husk at this point and plant everything.)
Some purchased seeds may already be separated from the husk. Packaging should indicate if seeds are whole or split. If it’s not clear, you can usually tell by looking at the seeds themselves – split seeds will appear as halves, whereas whole seeds will be more spherical.
And then there’s thyme, an herb that’s used in cuisine all over the world. It’s aromatic, is the most flavorful when fresh, and rarely stores for more than one week. This is a great reason to grow your own.
Outdoors in Zones 4-9 it’s a perennial and in Zones lower than 4 an annual. It will grow indoors and may need supplemental light if a south-facing window doesn’t provide enough.
When selecting varieties to grow herbs indoors, I lean toward dwarf and compact types. They are bred to thrive in limited space and are less likely to become leggy or overgrown.
Regular pruning encourages bushy growth and is an excellent way to harvest herbs while maintaining healthy plants. If you have the space, succession planting will ensure fresh herbs are always available.
Containers to Grow Herbs Indoors
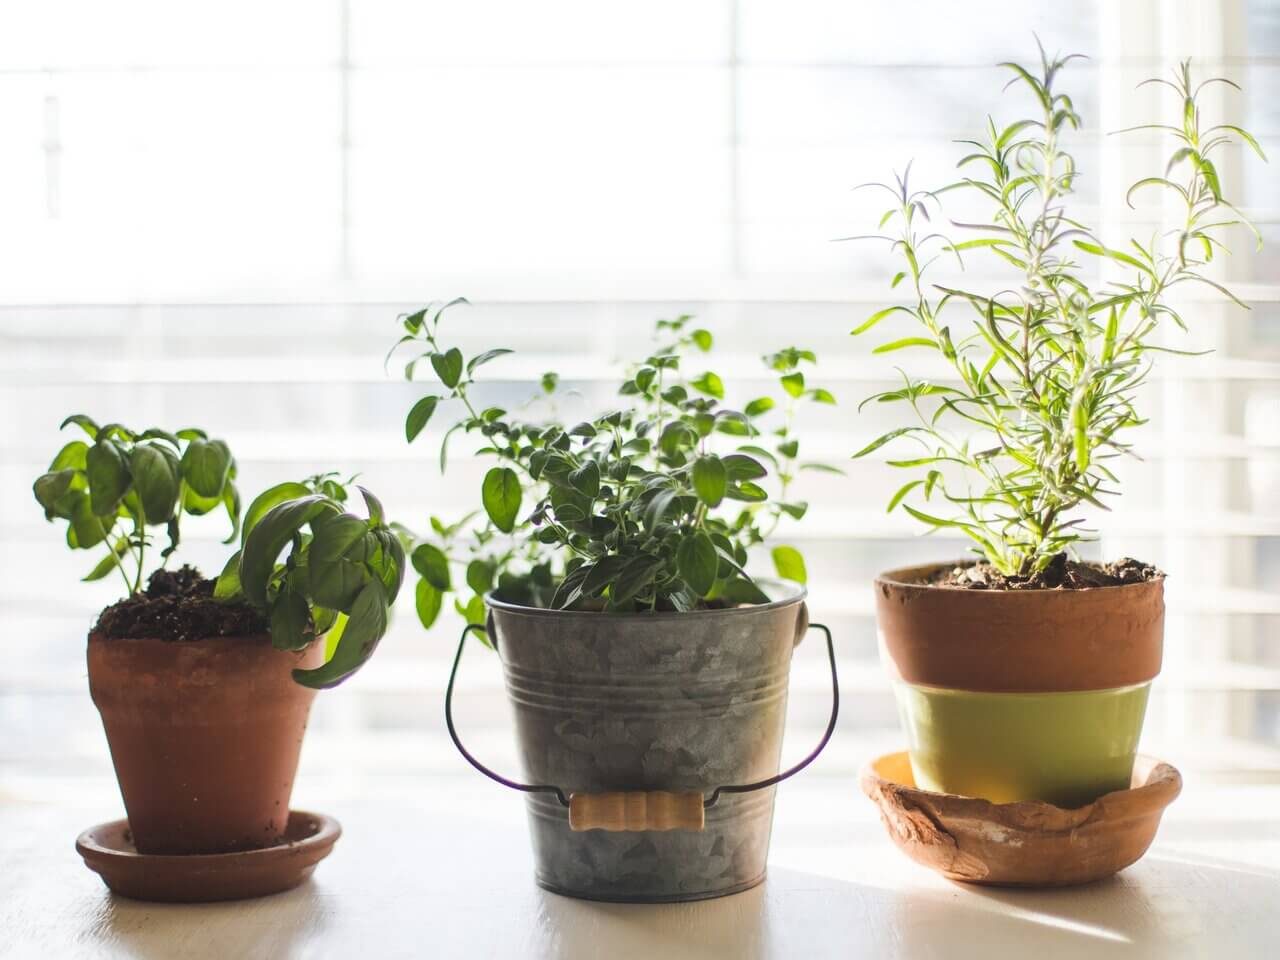
I prefer the traditional potted method to grow herbs indoors. This is what I’ve known my whole life so it’s comfortable and easy. I would like to experiment with hydroponic systems in the future but for now, I’m happy to have a fun and decorative variety of containers full of plants.
I choose my containers based on two criteria – what’s suitable for the specific needs of the plants I’m growing and what I like aesthetically. There are so many choices nowadays that it is a very personal decision.
Here’s a variety of containers that I’ve used for indoor plants:
Plastic Pots: These are a popular inexpensive and lightweight choice. They retain moisture well, just make sure they have good drainage holes.
Although I don’t prefer the look of most plastic pots, they make excellent self-watering herb pots, while others are very pretty and quite lovely to have out and about. To dress up a plain plastic container it can be placed inside a more decorative container.
Terracotta: These are classic and have a natural, porous quality that allows soil to breathe and helps prevent overwatering issues. However, they can dry out more quickly than plastic pots, so more frequent watering might be necessary.
I love the look of terracotta and always place them on a non-porous saucer when I use them inside.
Ceramic Pots: These are often more decorative and come in a large variety of sizes, colors, and designs. They typically have a glaze that helps retain moisture. Like terracotta, they should have drainage holes and a non-porous saucer underneath.
Fabric Pots: I’m sure these have been around for a long time, but they are becoming trendier nowadays. Several varieties allow for growing outdoors and indoors. The indoor varieties have a waterproof membrane on the inside to prevent leakage, so be aware of the greater potential for overwatering. These make great hanging baskets.
Wooden Boxes or Planters: Wooden containers can add a rustic aesthetic to your indoor garden. They are durable and good for larger plants or creating a mini raised bed. Be sure the wood is untreated or treated with a non-toxic substance to avoid harmful chemicals leaching into the soil. I sometimes use wooden containers and place another container inside with a saucer or tray to prevent leakage.
Metal Containers: These can offer a sleek, modern look. However, metal can conduct heat and cold, potentially affecting the root temperature. If you use metal containers, it’s a good idea to line them with plastic (with drainage holes) to protect the roots.
I have several brass and galvanized metal containers that really make a decorative impact statement.
Self-Watering Containers: These containers have a built-in reservoir at the bottom that allows plants to absorb water as needed. They can be especially helpful for maintaining consistent moisture levels. I use both plastic and ceramic self-watering pots, and both work well. My preference is ceramic because they look nicer, but I’ve seen some really nice-looking plastic self-watering pots lately.
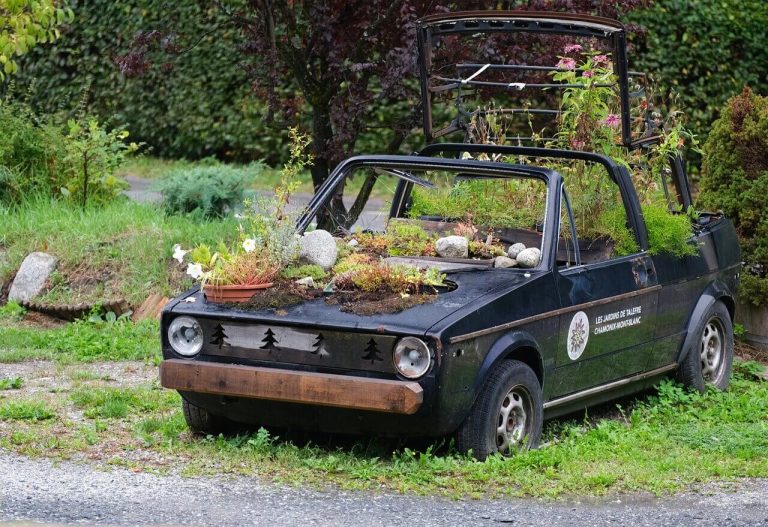
Recycled Containers: You can repurpose various items as plant containers, such as cans, jars, or even old teapots. Just be sure to add drainage holes and consider the size and depth needed for the plants you’re growing. My favorite is unique glass bottles and jars, especially if they hold a special memory for me.
Hanging Baskets: Ideal for herbs and some trailing vegetables like cherry tomatoes. Hanging baskets can save space and add an aesthetic appeal to your indoor garden. I typically use more hanging baskets outdoors because it’s easier to water them and let them naturally drip excess water. Indoors, I use hanging pots as a decorative shell for a less appealing container.
Window Boxes: These can be placed on indoor windowsills and are excellent for herbs and smaller vegetable plants. I have several small boxes made of wood and wicker that fit multiple small pots.
Indoor gardening allows the opportunity to be creative and decorate with plants. The same holds true for outdoor containers on a larger scale.
When choosing containers, consider the size and growth habits of your plants. For instance, each parsley plant needs its own pot whereas other herbs, like chives, can be planted several to a pot.
Always ensure there is adequate drainage in whatever container you choose to prevent root rot and other water-related issues.
Additionally, think about the weight of the container (especially after adding soil and plants). This is important when you need to move the pots around or if they are placed on a shelf or hanging structure.
Container Preparation and Location
Use an Indoor Soil Mixture
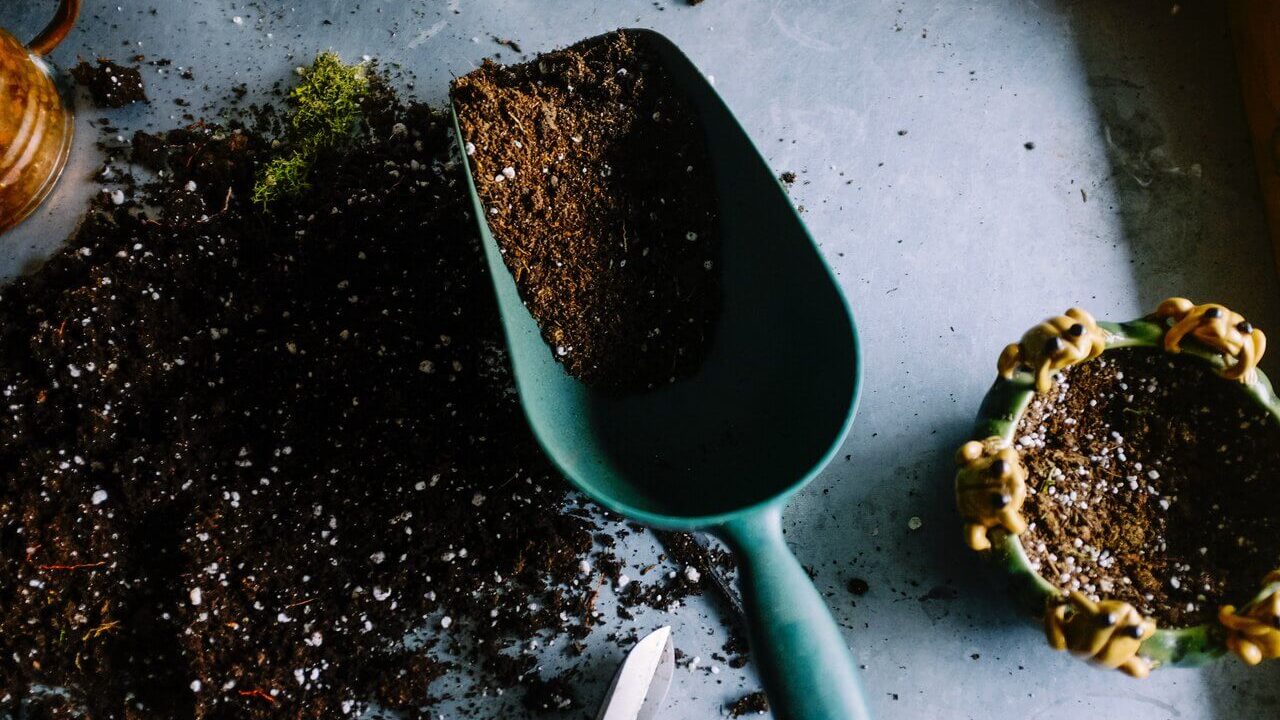
The soil you choose to grow herbs indoors lays the foundation for the health and growth of your plants. A lightweight potting mix is ideal for container gardening. Find it online or at a local garden center. This type of mix ensures proper drainage and aeration, essential for healthy root development.
Although it’s tempting, do not use soil straight from the garden. It can be too dense for container use and may introduce pests or diseases. Take the time to gently remove outdoor soil and transplant it with the proper indoor container medium.
Another no-no with container plants is soilless mixes, such as peat-lite mix. They don’t offer enough support for the plant as it grows. Soilless mixes are light and pots are easy to knock over. They are also sterile and contain few nutrients. Even if fertilizer is added, they contain no trace elements necessary for good plant growth.
For those inclined to a more DIY approach, creating a homemade soil mix allows you to tailor the nutrient content and texture to your plants’ specific needs.
Use one part peat moss, vermiculite, or perlite; one part clean, coarse builder’s sand; and a slow-release fertilizer such as 2-2-2/N-P-K. Lime may be needed to bring the pH to around 6.5.
Soil tests will pinpoint any nutrient needs or pH adjustments. Simple home test kits like the pH soil tester and the NPK soil test kit allow quick results. For more detailed results, contact your local state extension office and ask about soil testing.
Water Appropriately
Soil indoors does not dry out as quickly as soil in outdoor containers. Plants also tend to grow slower inside and need less fertilizer. Start with a lower mix and add as needed.
Overwatering is a common issue in indoor gardening. Water herbs when the top inch of soil feels dry. A soil moisture meter can help determine if watering is necessary.
I top water houseplants so that salt doesn’t build up in the soil. It’s easy to do this indoors by placing containers in large trays on 1-2 inches of stones.
This helps prevent overwatering because water drains out of the pot and onto the tray. If the soil has a conduit to the water, it will draw water as needed via capillary action. Plus, the water provides humidity for the plant which helps during dry winter months.
Choose the Brightest Location
The location of your indoor garden is one of the most important choices when determining success. A warm, sunny window, preferably south-facing, offers the best natural light conditions for most herbs.
Plants that don’t receive enough light grow leggy, thin, and weak. They put all their energy into this non-desirable growth and don’t produce flowers or fruit.
If you find that natural light is insufficient in your home, especially during the short days of winter, you can supplement it with grow lights. These artificial lights mimic natural sunlight and provide plants with the necessary spectrum of light for photosynthesis and growth.
I found success with a combination of warm and cool fluorescent lights when starting seeds. All I need to do is adjust the distance from the lights to the seeds as the seedlings grow. I’ve been pleased with the outcome.
There are now multiple choices available online that are easier to adjust, look better, and provide a better light source more consistent with sunshine.
Pests on Indoor Herbs
Even indoor gardens can face pest issues. Common pests include aphids, spider mites, and whiteflies.
As with so many problems, prevention is the best cure. Starting with healthy plants is a must. Healthy plants are strong and have the fewest pest problems.
Plants need proper care, especially when you grow herbs indoors. Since you control their light, water, fertilizer, and sanitization, they are 100% dependent on you.
Provide them with the correct amount of light, water, and nutrition at the right time and in the manner best suited for each plant. Plants grown indoors have different requirements from plants grown outdoors.
Hygiene for Indoor Plants
It’s also important for you to manage plant hygiene. When plants grow outside, rain, wind, and other natural elements help maintain their cleanliness. Since these factors don’t exist inside, you need to manage them.
Take a moment each day to remove dead leaves, stems, and flowers from the soil surface. At the same time, you can prune out dead branches and stems.
When you notice leaves are dusty or grimy, wash them with a damp cloth. This is very important because plants use their leaves for photosynthesis and respiration. Dust and grim block the amount of light a plant receives and can convert to energy and hinder the gas exchange of carbon dioxide and oxygen.
Keeping leaves clean ensures that they can effectively perform these vital functions, thereby supporting the plant’s health and growth.
My whole life I’ve heard that plants thrive when we talk to them. I’m not sure about the talking part, but I do know that the more involved we are, the more time we spend, and the more closely we inspect our plants the more likely we are to spot early signs of trouble.
Isolate plants and take action to fix any issues.
Indoor Insects
Many insects such as whiteflies, aphids, and spider mites can also cause issues on plants that are inside. The key is to watch carefully for these pests and stop them before they cause harm.
Purchase or make sticky traps to catch whiteflies. Wash plants to control spider mites. Sometimes this works for aphids too. You may need to resort to insecticidal soap if aphids persist.
I can’t stress enough how important it is to keep a close eye on indoor plants and nip any issues in the bud. Most problems are much easier to combat if caught early.
Take Action to Grow Herbs Indoors
- Choose your preferred system – traditional potted herbs, hydroponic system, or vertical garden. Then, pick the best container for your situation.
- Decide what herb varieties you want to grow and purchase seeds or healthy transplants.
- Prepare your growing medium and start seeds or transplant established plants.
- Choose the best indoor location and add supplemental light if needed.
- Enjoy watching as your herbs grow. Keep them clean and mitigate pests and issues before harm is caused.
- Harvest fresh herbs as desired for the most flavor and add them to any number of foods and beverages.
Now that you know how easy it is to grow herbs indoors, take action with these steps and start yours today!
Kim Nelson is a Master Gardener in Texas and previously in Colorado. She first gardened as a young child with her parents and grandmother before creating her own gardens as an adult more than 20 years ago.

